How to Create and Edit a Distribution List in Outlook
How to Create and Edit a Distribution List in Outlook
This article explains creating and editing distribution lists in Outlook. It is purely email-focused. The challenge is managing internal email distribution. It aligns with email optimization.
Written By:
Cerkl Research Team
Published:
October 16, 2025
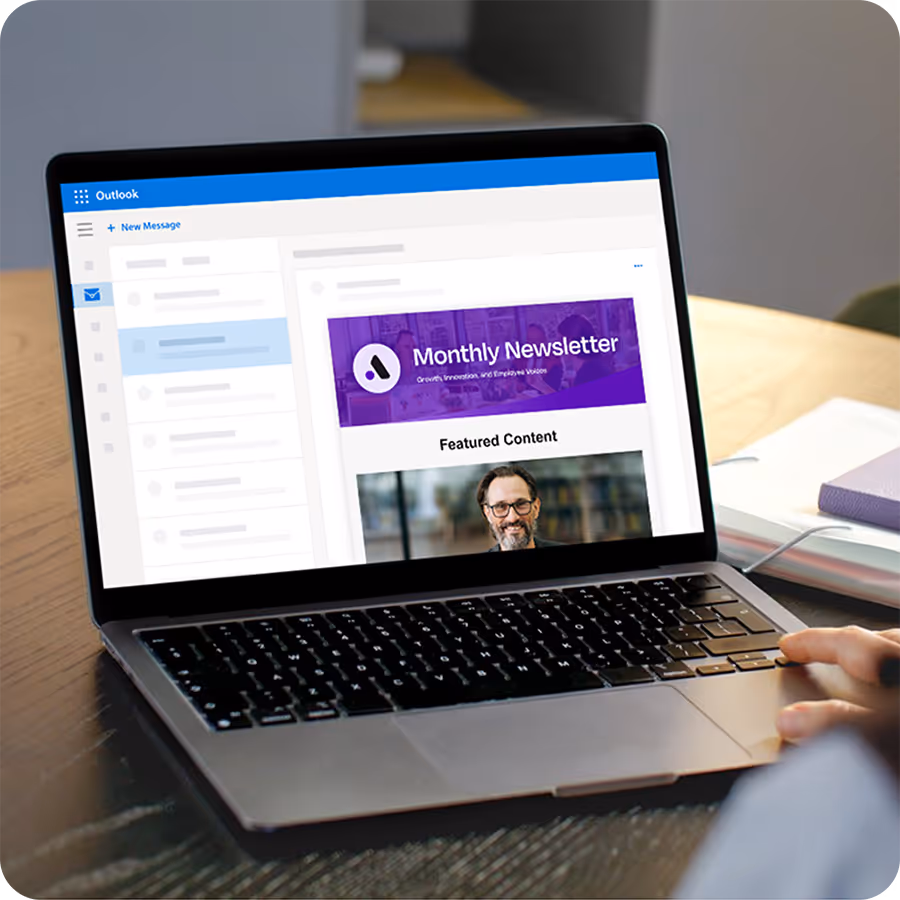
Send employee emails from Outlook?
Foundations adds targeting, engagement analytics, and pulse surveys to the Outlook emails you're already sending. Upgrade your internal email game with Foundations. Oh, it's free too.
Fast Facts on How to Create a Distribution List in Outlook
A distribution list in Outlook is a group of email addresses that allows you to send one message to multiple recipients at once, streamlining internal communication across teams or departments.
Outlook offers three types, depending on your version: Contact Groups in Classic Outlook, Contact Lists in the new Outlook or web app, and Microsoft 365 Distribution Groups which are typically managed by IT.
Editing and maintaining lists ensures your messages always reach the right employees, but Outlook lists are static and require manual updates when people join, leave, or change roles.
At scale, these lists struggle with outdated information, limited analytics, and a lack of automation, creating bottlenecks and increasing communication risk.
Cerkl Broadcast solves these challenges with dynamic, rules-based audiences that auto-sync with HR and directory systems, ensuring every employee receives content that’s relevant, targeted, and measurable.
Distribution lists make it easy to communicate with specific groups of employees - such as teams, departments, or project members - without manually adding every address each time. Instead of sending individual emails, a distribution list lets you reach everyone in a defined group at once, ensuring consistency and saving valuable time.
As organizations grow beyond about 500 employees, maintaining accurate and up-to-date distribution lists becomes critical for effective internal communication. They help ensure the right people receive the right messages while preventing information overload.
Microsoft’s 2025 Work Trend Index Special Report breaks down what they call “the infinite workday.” A major challenge they highlight is the role of email in people’s lives. With 40% of people online at 6 am daily reviewing email, and the average worker receiving 117 emails every day, “too often it opens to a flood of unprioritized chaos.”
Very quickly, it all becomes too much! Which is why it’s so important to ensure that employees only receive emails that are important to each of them. Mass deployment of email is inevitably overwhelming, but targeted distribution lists can help to cut through the noise by delivering relevant information to defined audiences. This ensures that every employee receives messages that matter to their role, team, or location and not only improves engagement and clarity, but also helps restore focus in an otherwise overloaded inbox.
In Microsoft Outlook, these lists can appear under different names depending on your version.
Contact Group – in Classic Outlook (desktop)
Contact List – in Outlook on the web or New Outlook for Windows
Microsoft 365 Distribution Group – an organization-wide list typically managed by IT
No matter what you call them, if you are using Outlook, their distribution lists are essential for sending clear, targeted messages that keep employees informed and connected.
Managing employee lists gets messy - fast.
Foundations lets you target employee emails using roles, departments, or locations without manually updating Outlook or Gmail lists.
Step-by-Step Process to Create a Distribution List in Outlook
Creating a distribution list in Outlook allows you to send messages to multiple people without entering each address individually. Whether you’re managing a small team or an entire department, distribution lists help streamline internal communication and reduce repetitive work.
Depending on which version of Outlook you’re using, the steps and terminology may differ slightly. However, the goal remains the same. You can create a distribution group in Outlook to keep the right contacts together so communication is fast, organized, and consistent.
It’s not difficult, but it can be confusing. So, we’ve compiled step-by-step instructions for the three main Outlook environments.
Create a Contact Group (Classic Outlook desktop)
If you’re using the classic desktop version of Outlook, you’ll create what’s called a Contact Group.
Open the People (Contacts) view. Do this by clicking the People icon at the bottom of your Outlook window.
Select “New Contact Group.” This will open a blank group form.
Name your group. Use a clear, descriptive name like “Marketing – EMEA” or “All HR Managers.”
Add members. Click Add Members and choose one of the following options:
From Outlook Contacts (to add people from your personal contact list)
From Address Book (to select from your organization’s directory)
New E-mail Contact (to add someone manually by typing their address)
Click “Save & Close.” Your new Contact Group will now appear in your Contacts list and can be selected just like any individual contact when composing an email.
Tip: If you need to edit a distribution list in Outlook, you can easily change or update your Contact Group later. Just open it, make changes, and click Save & Close again.
Create a Contact List (Outlook on the web / New Outlook)
If you use Outlook on the web or the New Outlook for Windows, you’ll need to follow a slightly different process to create what’s called a Contact List.
Open the People app. Click the People icon in the left navigation bar.
Click “New Contact” → “New Contact List.” This opens the form to set up your new list.
Name your list. Choose a recognizable name that reflects its purpose, such as “IT Helpdesk” or “Remote Employees – North America.”
Add members. You can type or paste email addresses, or select from your saved contacts.
Click “Create.” Your list will now be available for use whenever you compose an email.
Note: Outlook on the web automatically saves your list in your Microsoft 365 account, which means it syncs across all your devices using the same login.
Create a Microsoft 365 Distribution Group (if you’re an owner)
For larger organizations using Microsoft 365, you may need to work with Distribution Groups - these are organization-wide lists typically managed by your IT team. If you’ve been given ownership or permission to create one, follow these steps:
Go to Outlook Settings. Click the gear icon → View all Outlook settings.
Navigate to Mail → General → Distribution groups.
Open the Owner tab and click Create (or choose an existing group to edit).
Set up the group details:
Enter a Group name (e.g., All Employees – APAC)
Choose an Alias (the email address used for the group, such as apac-all@company.com
Save. If you don’t see this option, your IT team likely manages distribution groups directly in the Microsoft 365 Admin Center. You can request they create or delegate management access for your group.
Ultimately, this type of distribution list is ideal for company-wide or departmental announcements, where access control and centralized updates are essential for maintaining accuracy and compliance.
Step-by-Step Process to Edit a Distribution List in Outlook
Once your distribution lists are set up, you’ll probably need to update them from time to time. Teams change, projects evolve, and employees move between departments. So, keeping lists current is essential to ensure your messages always reach the right people.
Editing a distribution list in Outlook lets you add or remove members, rename the group, or adjust settings without having to recreate it from scratch. Like the creation process, the exact steps vary depending on which Outlook version you’re using. Nevertheless, the process is quick and straightforward for each one.
Edit a Contact Group (Classic Outlook desktop)
If you’re using the Classic Outlook desktop app, you can easily update an existing Contact Group:
Open People (Contacts). Click the People icon at the bottom of your Outlook window.
Locate your group. Search for the Contact Group by name or scroll through your contact list.
Open the group. Double-click it to open the Contact Group window.
Edit members.
To add members, click Add Members and choose From Outlook Contacts, From Address Book, or New E-mail Contact.
To remove members, select a name and click Remove Member from the ribbon.
Rename if necessary. You can update the group name at the top of the window.
Click Save & Close. Your changes will take effect immediately, and the updated group will appear in your Contacts list.
Tip: You can preview group members quickly by hovering your cursor over the Contact Group name in an email’s “To” field. Outlook will display a list of members for quick verification.
Edit a Contact List (Outlook on the web / New Outlook)
For Outlook on the web or the New Outlook for Windows, lists are cloud-based, so any edits sync automatically across your devices.
Open People. Click the People icon in the left navigation bar.
Select “Your contact lists.” You’ll see all the lists you’ve created.
Open the list you want to edit. Click its name to open the detail view.
Click Edit. Use the Add email addresses field to include new members or click the “X” beside existing names to remove them.
Rename the list if needed to reflect its current purpose.
Click Save.
Note: Outlook on the web also allows you to share your contact list with others by exporting it, making collaboration between departments or teams easier.
Edit a Microsoft 365 Distribution Group (if you’re an owner)
If you’re an owner of a Microsoft 365 Distribution Group**, you can manage its members and settings directly in Outlook - though larger organizations often delegate this control to IT.
Open Outlook Settings. Click the gear icon → View all Outlook settings.
Navigate to Mail → General → Distribution groups.
Under the Owner tab, select the distribution group you want to edit.
Click Edit. From here, you can:
Add or remove members to keep the group current.
Update the group name or alias if its purpose has changed.
Adjust permissions or delivery settings, depending on your admin rights.
Click Save. If this option isn’t available, your IT department likely manages these lists through the Microsoft 365 Admin Center. You can request them to apply the changes for you.
Tip: For organization-wide groups, it’s a good idea to review members quarterly to avoid communication gaps or accidental oversharing.
Why Outlook Distribution Lists Struggle at Scale
While Outlook distribution lists are useful for small teams or one-off announcements, they become increasingly difficult to manage as organizations grow. What starts as a convenient way to group contacts quickly turns into an administrative burden. With this comes real communication risks if lists aren’t maintained properly.
Here’s why traditional Outlook distribution lists often fail to keep up at scale.
Static and Stale
Outlook lists don’t automatically update when employees join, leave, or move between departments and locations. Without ongoing manual maintenance, they quickly become outdated. This means that messages can miss the right people or reach those who no longer need them.
Manual and Slow
Adding or removing members from multiple lists is repetitive and time-consuming. For large organizations, maintaining dozens of lists manually not only drains productivity but also increases the risk of human error. This can be as simple as forgetting to remove a former employee or mistyping an address.
IT-Owned Bottleneck
Organization-wide distribution groups in Microsoft 365 are often owned by IT, requiring support tickets to make even simple updates. This dependency delays communication and limits agility for HR, internal comms, and leadership teams who need to reach audiences instantly.
Fragmented and Duplicated
Multiple versions of the same list can exist across different inboxes or departments - and none of them may be fully accurate. This fragmentation leads to inconsistent communication, duplicate sends, and employee frustration when messages overlap or contradict each other.
Zero Analytics
Outlook doesn’t provide any way to measure engagement. You can’t track who opened, clicked, or acknowledged a message. It’s not rocket science to realize that this leaves communicators blind to whether employees are reading or acting on important updates.
Risky Sends
Without centralized management or validation, it’s easy to email the wrong audience or omit key recipients. For compliance, crisis communication, or policy updates, these errors can have serious consequences.
Make “Distribution Lists” a 10-Minute Job with Cerkl Broadcast
Managing employee lists shouldn’t require hours of manual updates or IT requests. With Cerkl Broadcast, internal communicators can build dynamic, data-driven audiences that stay accurate automatically, turning what used to be an administrative headache into a 10-minute task.
Here’s what changes when you move from Outlook lists to Broadcast audiences:
Dynamic audiences, not static lists: Broadcast connects directly to Microsoft Active Directory and Google Workspace, so audience membership updates automatically when employees join, leave, or change roles. No more chasing HR or IT for the latest roster. Your lists always reflect real-time employee data.
Rules, not manual edits: Instead of manually adding or removing names, you can build audiences based on defined criteria like department, location, job title, manager, employment status, shift, or tenure. As employee attributes change, their audience membership adjusts instantly.
Instant governance: Broadcast includes built-in safeguards such as exclusions, test sends, and approval flows to prevent errors and ensure compliance before messages go live. These are especially useful for all-staff or regulatory communications.
Personalized delivery: Every employee receives content tailored to their role, location, and interests. That means no more “spray-and-pray” email blasts - just targeted, relevant communication that respects employees’ time and attention.
Omnichannel + analytics: Reach employees wherever they are - via email, mobile apps, Teams, or intranet - and they gain full visibility into engagement through open rates, click-throughs, and readership insights. Communicators can also measure impact and prove value with confidence.
Quick Comparison: Cerkl Broadcast vs. Outlook Distribution Lists
Outlook distribution lists were never designed for large-scale, dynamic internal communication. They work fine for small teams, but quickly become unmanageable as organizations grow and employee data changes.
This table highlights how Cerkl Broadcast transforms static, manual list management into a fast, automated, and data-driven process, giving communicators full control and visibility.
If you’re ready to move beyond static lists and start personalizing communication at scale, we’ve got a resource for you. Download our free white paper, The Impact of Personalization on Internal Communication Engagement & Effectiveness, to discover how leading organizations are using data-driven segmentation and dynamic delivery to reach every employee with messages that matter.
Learn practical strategies to increase engagement, reduce email overload, and align your communications with business goals.
Outlook works for email. Internal communication needs more.
Why use a tool not built for internal communication when Foundations is free? No credit card, no setup fees, no contracts.
How do I create an email distribution list in Outlook? In Outlook, open People (Contacts) and select New Contact Group (or New Contact List in Outlook on the web). Name your list, add members from your contacts or address book, then click Save & Close (or Create) to finish.
What is the difference between a distribution list and a group in Outlook? A distribution list is a simple collection of email addresses used to send one-way messages to multiple recipients. An Outlook Group (Microsoft 365 Group), however, includes shared resources such as a mailbox, calendar, files, and collaboration tools for ongoing two-way communication.
What is the difference between a distribution list and a shared mailbox? A distribution list forwards incoming emails to all members on the list, so each recipient gets their own copy of the message. A shared mailbox is a single inbox that multiple users can access and manage together, allowing them to send, receive, and reply to messages from a common address.
Did you enjoy this content? Please share it with your internal comms friends and colleagues. Just click on any of the links below.